All Posts By

Nicole

Cost Estimates & Breakdowns, Fitness, Life

Race & Budget Report: Tar Heel 10 Miler

I’ve talked about the Tar Heel 10 Miler a number of times around here. I was on the fence about going when I wrote up what I thought things would cost to participate. Then I committed! And I was able to actually train to the point where I felt like I was ready physically.

And then, of course, because this is how these types of things happen, I came down with a nasty case of food poisoning five days before the race! It was a dark couple of days and I wasn’t sure I was going to feel up to driving down to Chapel Hill, let alone running in a 10 mile race. Spoiler alert: I was able to fully rebound and I completed all 10 miles on race day!

So, I decided to write up a race report (kind of like how I did when I ran the Color Run in Philadelphia a couple of years ago). This time, the write up comes with a twist of budget breadown!

Continue Reading

DIY, Pets

How To: Hidden Cat Litter Box

For the majority of his life, Zeke (my cat) has had the luxury of ample room for running, playing, napping, and using his litter box. His litter box was always in a basement, which gave him ample room to do his business and plenty of privacy to do it.

Unfortunately, now that we are living in Arlington, space is at a premium and we no longer have a basement. In fact, in our apartment, we barely have any extra room. When we moved, I knew that finding a place for the litter box would be a challenge. We were battling a couple of issues:

  • We don’t have any extra closets or out of the way places to store a litter box
  • Stella (our dog) likes to … um… snack on Zeke’s unmentionables, so we can’t just have it sit out
  • Zeke needs some privacy do to his business
  • The idea of having a litter box just out in the open in our living area grosses me out

So, I decided to figure out what I could do to create a hidden cat litter box storage unit. Maybe I could build something. Maybe I could hack something. Maybe I can do some other creative thing. I wanted the end result to be not extremely expensive, multi-purpose, and easy to put together. And, as luck would have it, I think I accomplished all three goals!

Enter IKEA Ivar
IKEA IVAR

Source: IKEA

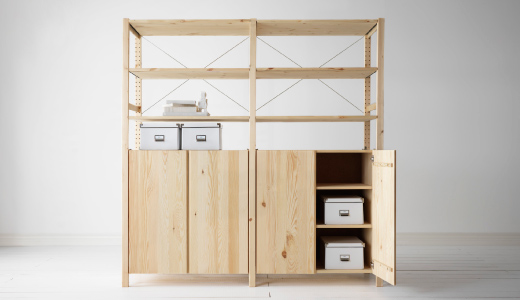
I decided to utilize IKEA’s IVAR storage system, which is a totally customizable system for creating shelving storage units. You can choose how wide you want your shelving, how tall you want your shelving, and a number of different add-ons like cabinets, shelves and even a wine rack!

In the picture above, you can see that they set up their IVAR with a cabinet on the bottom and shelves on the top and it’s two columns wide. I decided to do something a little different: one column, cabinet on the bottom, tall enough to reach nearly the ceiling in my apartment. So, let’s walk through the process in case you ever find yourself needing a hidden cat litter box!

Materials You’ll Need

If you want to replicate what I did, you’ll need the following items from IKEA:

My apartment has pretty tall ceilings and I wanted to maximize my use of vertical space, so that is why I went with the 89″ side units. You can of course go with the shorter ones and less shelves, if that fits your space better. However, the key to this project is getting the 20″ deep side units, shelves and cabinet – the litter box sits in the cabinet, so it needs to be deep enough to fit that!

Other materials I used were:

Putting It Together

Once you’ve gathered all of your materials, you’re ready to start making your hidden cat litter box storage. It was pretty simple to put everything together, but I ended up assembling everything over the course of a few weeks. That was mostly due to me being lazy, so it’s likely you can put everything together in a much quicker fashion.

1. Assemble the IVAR cabinet base

Cat Litter Box Storage - Cabinet Assembly

The first step you need to take is putting together the cabinet. This is fairly easy to do. Just follow IKEA’s directions.

2. Map out a cat door

Cat Litter Box Storage - Draw Hole

Once you have the cabinet put together, determine which side of the cabinet your cat will use as their entrance/exit. Be sure you don’t accidentally put the door on the botton of the cabinet floor or at the top of the side (rather than the bottom). Triple check this.

3. Drill holes to start cutting out the cat door

Cat Litter Box Storage - Drill Holes

Cutting out the cat door hole is a two step process. First, you need to drill a hole in each of the four corners that you drew out. Make sure you use a bit that is big enough for you to put the blade of your jig saw through. You’ll use these drill holes to guide where you saw and to get the hole started.

4. Test out the waters with a dry run

Cat Litter Box Storage - Dry Run

Zeke had never had his litter box in an enclosed space before, so I wanted to ease him into the experience. The last thing I needed was him doing his thing in places that he shouldn’t. To help ease him in, I left out the cabinet without doors and not in the rest of the unit for a while.

5. Line the cabinet with light panels
Cat Litter Box Storage - Light Panels

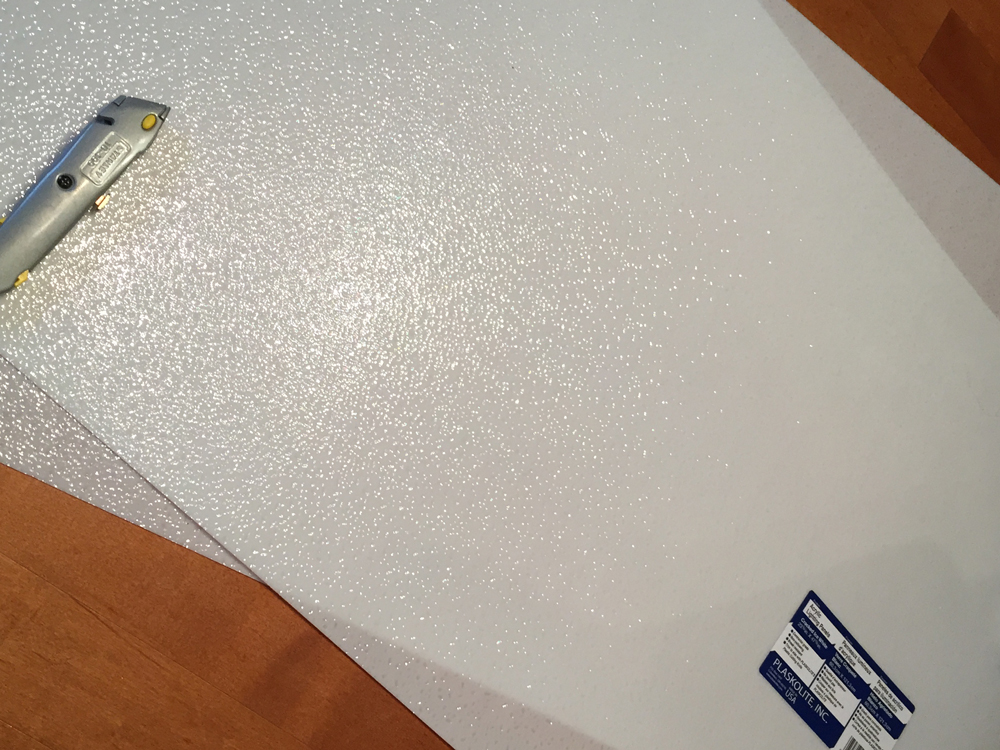
One sucky thing about wood for this project is that is sucks stuff up. To help reduce damage for the inevitable accidents, I decided to line the interior of the cabinet with plastic light panels. All I did was cut the panels to size and line the interior of the cabinet (walls, floor, doors) and then caulk around all of the edges to seal everything up. You could probably use a number of different materials to line the cabinet, but this was the best solution I could find.

Use a utility knife to cut the light panels, but be super careful. The panels are very brittle, so it’s easy for them to snap in a direction that you don’t want them to snap.

6. Assemble the rest of the cabinet
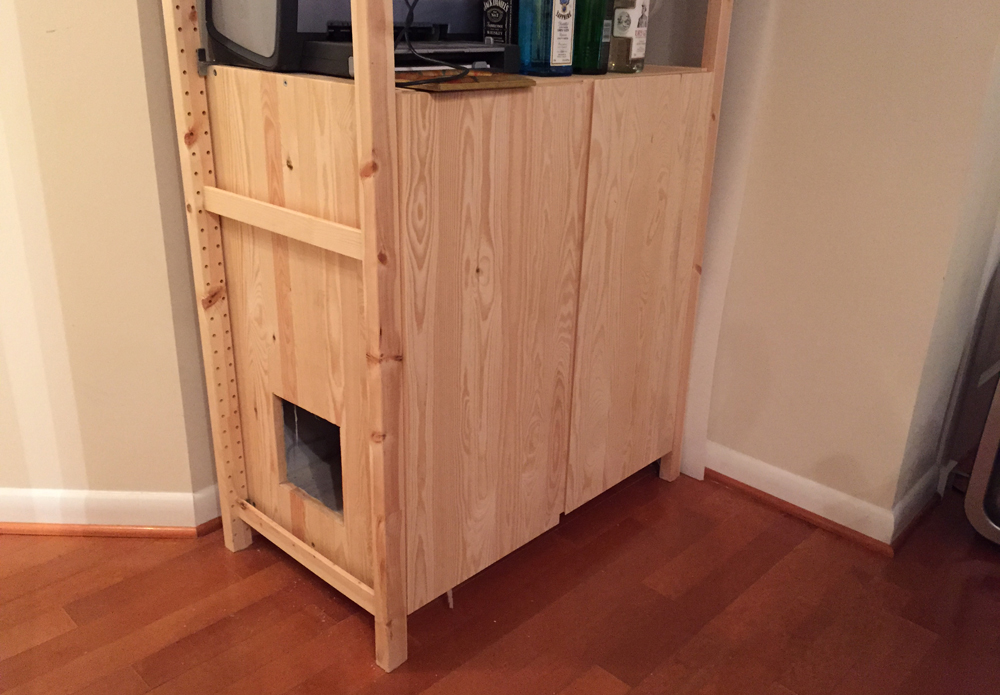
Hidden Cat Litter Box - Put It Together

Eventually, you need to actually assemble the storage unit. The cabinet is pretty chunky, so it took a bit of effort to get everything juuuuust so.
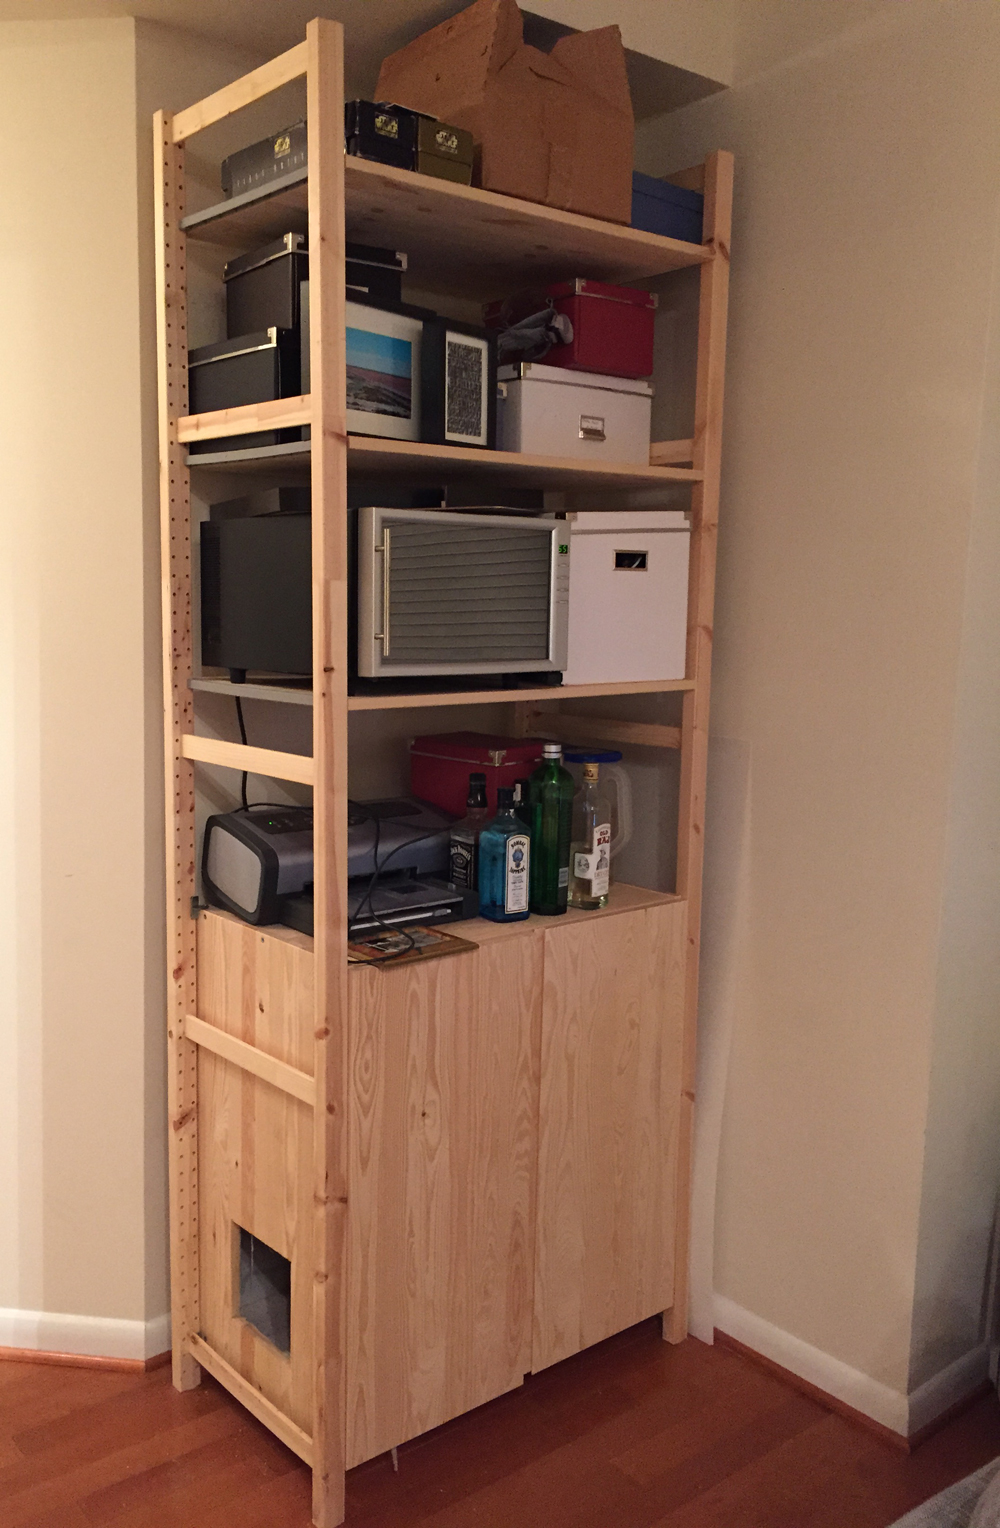
Hidden Cat Litter Box - Full Unit

Eventually, we were even able to put stuff on the shelves above. Multi purpose? Check!

7. Test out the waters again
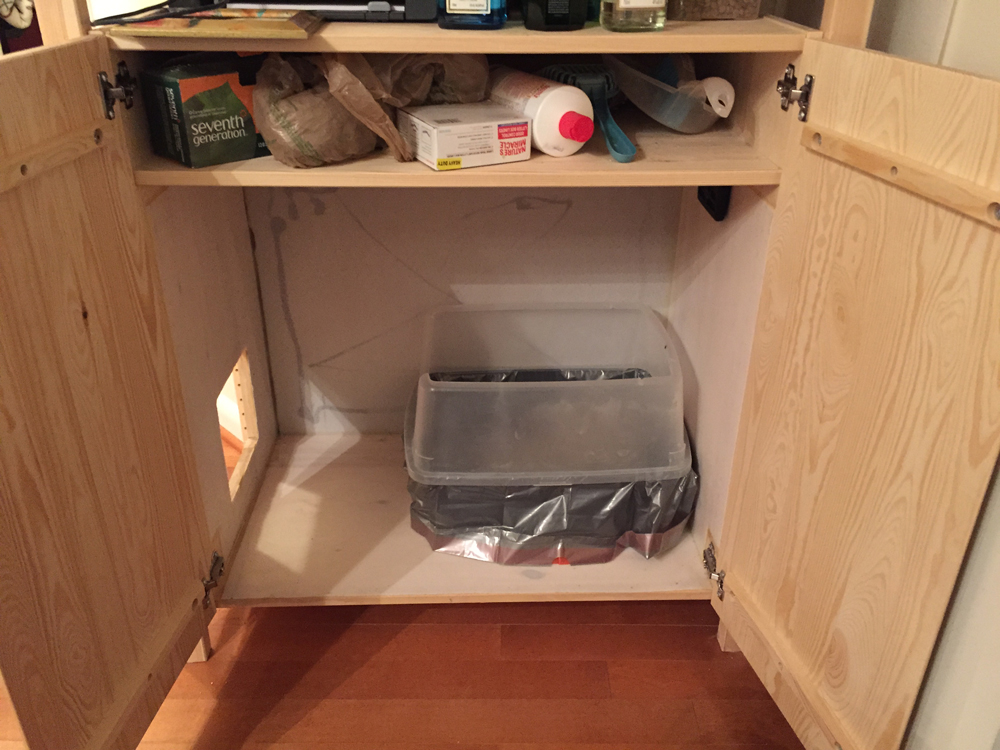
Hidden Cat Litter Box - Dry Run 2 Once I had the cabinet assembled, I placed the litter box inside of the storage unit. I left the doors to the cabinet open for a week or two so that Zeke could enter through the cat door or through the front of the open cabinets. During this time, it became clear that Zeke was having some trouble aiming into his litter box. It seems that the enclosed space made him feel like he didn’t need to be as careful. To help combat more accidents, I decided to get a high-sided litter box. Luckily, this did the trick and we haven’t had any issues since!

Also, I used one of the two shelves that comes with the cabinet. This created a perfect space to keep all of the other cat litter stuff – cleaner, bags, scoop, and hand broom.

8. Add in the cat door, if you want
Zeke sitting by window

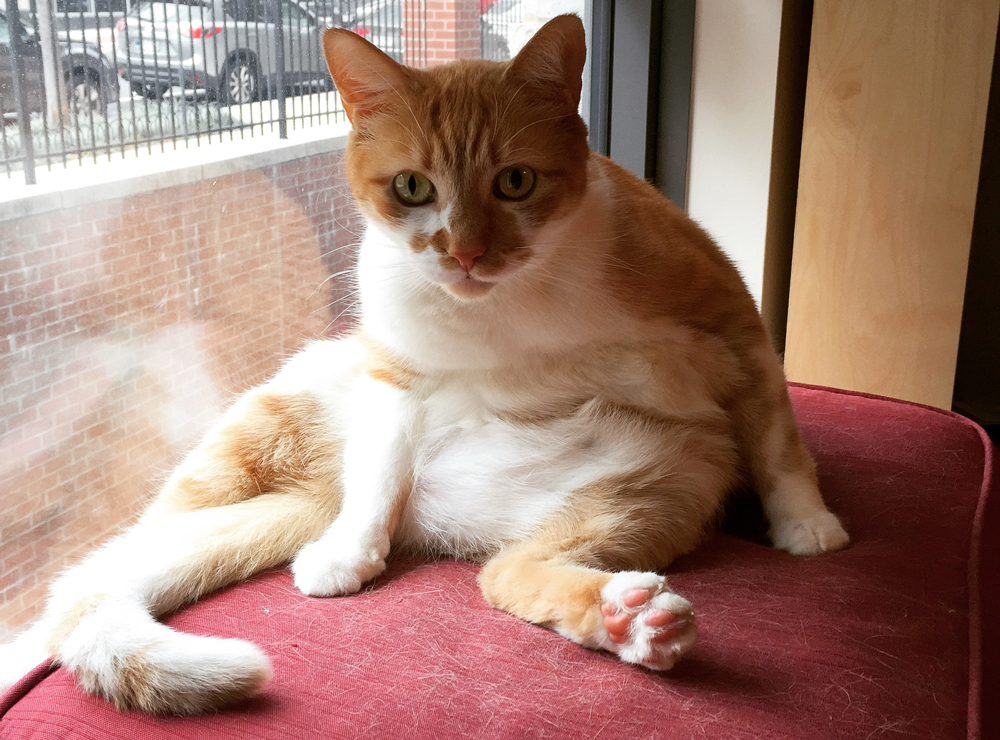
I thought I would end up using the cat door, but I never really got around to installing it. Also, I discovered that since the cat door was designed to be installed in something as thick as a door, there is a large gap between the plastic and the cabinet. If you’re interested in installing the door, it would be pretty easy to get some scrap trim and line the door to fill the gap between the cabinet and the plastic on the cat door. As you can see from above, Zeke is kind of a chunky dude, so I think for now it’s okay that we don’t have that extra bit making the entrance/exit smaller.

The Skinny on Making a Hidden Cat Litter Box

So now that you know how to make your own hidden cat litter box, let’s go over some details about the project itself.

Cost

Tools & Materials Costs:

  • IVAR Storage Unit: $160
  • Light Panels: $30
  • Caulk: $9
  • Cat Door: $20
  • High-sided Cat Litter Box: $11
  • Jig Saw: $30

Total Tools & Material Costs: $260

Overall, I spent $260 on making this custom hidden cat litter box. The majority of the cost came from the storage unit itself. I could have reduced cost in the following ways:

  • Buying less light panels (I purchased one more than I ended up needing)
  • Not buying the cat door (I had already purchased it a long time ago and thought I would use it, but didn’t)
  • Not upgrading litter boxes (Maybe you have a cat that is capable of aiming)
  • Borrowing a jig saw from someone (Unfortunately, I don’t know anyone else in the area who has a jig saw)

When I look at it all added up together, I’m tempted to feel sticker shock – kind of like how I did when I built my workbench in Rochester. However, the hidden cat litter box storage unit has become a pivotal part of our apartment. It does the crucial task of hiding the litter box, it keeps the litter box away from our dog, it helps minimize smell, and it acts as a storage unit for a bunch of other stuff. This is also something we’ll be able to take with us to future apartments, because it’s unlikely that we’ll end up in a place with a basement (or extra space) for a long time.

Time

3-5-hours

I took a long time to put this together because I had a lot going on and I kept having to go back to the store for supplies. However, over the course of a few weeks, I only really put in a few hours of work onto this project. If you’re motivated, you could easily have this entire project done in an afternoon or about 3 to 5 hours.

Skill

2 of 4 skill

This is a really simple project. You need to know how to use a drill and you need to know how to use a jig saw. Since there is some dexterity needed with the jig saw and some power tools involved, I give this project a 2 of 4 in terms of skill needed.

Have you ever made a hidden cat litter storage unit? Would you?

Disclaimer: This post contains affiliate links. If you click on them, I receive a small commission for referring you. As always, all of my opinions are my own!

Financial Lessons from Suze Orman
Money

5 Financial Lessons from Suze Orman

For the past couple of years, one of my favorite weekly activities was listening to The Suze Orman Show in podcast form. Every Monday, they released the episode that aired on TV on Saturday on iTunes. What a start to the week! Getting up to speed on financial lessons from Suze Orman!

Well, unfortunately, The Suze Orman Show is no more. The series finale was last month and I’m still a bit sad about it. Monday mornings certainly aren’t the same anymore. To mark the ending of the show, I wanted to share five financial lessons that I’ve learned from Suze throughout the years that I will take with me.

Continue Reading

2015 goals Update 1
Goals

2015 Goals Update #1

Welcome to my first 2015 goals update! It took me a while, but I articulated some goals that I want to focus on this year and posted them a month or so ago. Now that we’re a quarter of the way through 2015, there is no better time to look at my progress thus far.

As to be expected, I’m lagging in a couple of goals and doing well in a couple others.

1. Pay off my remaining private student loans

In my last post, I mentioned that my focus for the year is to pay off my two remaining private student loans. I started the year with $21,205 in private student loans (across two loans). I’m now at $17,859, which means I’ve paid off $3,346 in principal on my private loans since the beginning of the year!

While this is pretty exciting, there is still a long way to go. The large progress I made is due in part to committing some of my tax refund to the payments. Unfortunately, I don’t get windfalls like that every month, so we’ll just have to see how my progress shapes up.

2015 goals update 1: private student loans

2. Contribute 25% of my take home pay to savings and extra student loan payments

In an effort to make sure I’m staying on track with my savings goals, I am aiming to save 25% of my take home pay this year. This 25% is comprised of savings that go towards my emergency fund and my extra student loan payments.

2015 goals update 1: savings

For the year, I’m proud to say that I have a 33% savings rate. This number has been helped by the fact that I received a tax refund, which I completely put towards savings and student loans (at a 30:70 ratio). In January, I saved 28%; February, I saved 20%; and March, I saved 57%. The difference between February and March is explained by the fact that I received my tax refund in February but did not make a payment on my loans or savings until March.

3. Take at least 20 days of PTO

So far, I have taken zero days of PTO. Considering I just posted about work life fit last week, I think it’s time to start planning some time off!

2015 goals update 1: zero pto taken

4. Be a backyard tourist in DC at least once a month

One of my goals for the year is to make a concentrated effort to get out and explore my new backyard. Unfortunately, I didn’t get out to explore in January or February (too cold! hadn’t articulated goal!), but did get out and do something in March.

Richard and I took a jaunt out to the Udvar-Hazy Center in Chantilly this past weekend, which is a satellite location of the Air & Space Museum. Get excited for an upcoming post with a breakdown of the experience.

2015 goals update 1: backyard tourism

5. Work out 200 times

In an effort to focus on my health and fitness, I decided to add a workout-focused goal. I didn’t articulate this goal until February, so I’m a little behind the game. Good thing there is plenty of time to catch up! As of today, I’ve worked out 27 times in 2015.

2015 goals update 1: total workouts

If you’re interested in a breakdown of how I’ve been working out: I’ve bouldered/rock climbed 15 times, ran 10 times and lifted weights twice.

2015 goals update 1: breakdown by workout type

I’ve also decided to fully commit to the Tar Heel 10 Miler that takes place this month. I was waffling a bit even after posting about how much it would cost to participate, but decided to bite the bullet and go for it!

2015 Goals Update: Looking Good!

Overall, I’d say that things are looking good! It’s still too early to assess if I will or won’t achieve some of the goals, but I’m happy with the progress that I’m making so far. In 3 months, I’ll be back with another update.

How are you doing on your yearly goals?

work life fit vs. work life balance
Career

Work Life Fit or Work Life Balance?

Something that has been on my mind a lot lately is the intersection between work and life. The past couple of months have been very busy for me from a work perspective. As you may remember, I moved down to Virginia as a result of getting a new job. At my new company, I hear a lot about work life fit as opposed to work life balance.

As someone who has an overachieving, type A personality, I often find myself engrossed in work and don’t always take a second to step back and breathe. Now that things are calming down at work, I’m taking some time to think over how my life and work are meshing together.

Work life fit vs. balance

At a high level, two major philosophies of work life interaction are work life fit and work life balance.

Work life fit is commonly associated with:

  • Finding the right fit between work and personal priorities
  • Actively managing your priorities in a way that works for you and your job
  • Embracing flexibility and give and take between work and life

Work life balance is commonly associated with:

  • Finding harmony between your work life and the rest of your life
  • Providing equal attention to both work and life
  • Having it all

These are high level definitions but hopefully what is clear is that one aims to achieve a balance (which implies a 50-50 division of attention) while the other aims to fit work and life together in a way that works best for the person at a given time.

What does work life fit look like?

I’m not sure what sounds like a better option to you, but for me, I want to strive for a work life fit. The ultimate work life fit looks different for everyone.

Right now, the following things are important to me:

  • Aggressively pursuing my financial goals
  • Focusing on my physical health and fitness
  • Socializing with friends and family
  • Giving my pets the attention and care that they need
  • Building my professional network in the DC metro area
  • Pursuing my career goals

So, what does work life fit look like to me in light of these priorities?

  • Compensation that includes health insurance and retirement benefits, and affords me the ability to pursue my savings and student loan goals
  • Being able to set aside time to work out (before and after work) and go to vet/doctor/dentist appointments (any time within reason, including work hours)
  • Having the ability to commit to and actually follow through with social outings
  • Partaking in learning and networking events as part of my work duties
  • Recharging periodically

At this time in my life, it’s obviously important for me to find harmony between the two, but I don’t expect that I’ll ever really balance work with life equally on a consistent basis. Some weeks, I might spend more time focusing on work. Other weeks, I might spend more time focusing on other parts of my life. Overtime, with appropriate give and take, I think it evens out.

Creating a better work life fit

In looking at what it means to have a work life fit and looking at what it means to me specifically, I don’t think I’m doing to shabbily in the work life fit department. I’m happy with my compensation, I’ve had to make relatively few sacrifices in terms of socializing and other personal things, and my work schedule is fairly flexible.

However, I think there are some ways that I can make work life fit more of a priority for myself:

  • Scheduling appointments in a timely matter – My lack of appointment-going is my own creation. I did manage to go to the doctor early this year, but there are a number of other appointments that I need to stop procrastinating and just schedule them.
  • Taking advantage of periods where it is “easier” to take time off – Due to the project-based nature of my work, it sometimes isn’t feasible to take a lot of time during certain periods of time. I need to better identify slow periods and plan my time off ahead of time.
  • Working out in the morning – I have always known that I’m more likely to exercise if I do it before work. I need to be more consistent in carving out time for exercise.
  • Actively seeking out meetups and learning opportunities – We receive notice of different learning and networking events through work, but I need to make more of an effort to seek them out on my own.

I have a plan! Work life fit will be mine in no time. Now, if it were only that easy.

What do you want: work life fit or work life balance? How do you go about achieving it?

Destinations, Europe, France, Provence, Travel

Goult, France: The Perfect Provence Getaway

A long long time ago, I went on a trip to Europe. September 2013 to be exact. Now that it’s 2015, it’s time to start sharing some of my experiences! Today, I talk about Goult, the small town that I stayed in the Provence region of France.

Goult is the reason Richard and I went to Europe a while back. Well, my work was the reason and Goult was the primary destination. My previous company decided to host a working retreat in Provence, France for anyone at the company who wished to join. They picked Goult as the location where we would set up shop for a week.

We could bring our significant others and the hotel, some food, and a couple of team excursions were included. Richard and I paid for airfare and covered the cost of our stays in Paris and Barcelona before and after we went to Goult. Always looking for ways to cut down on travel expenses, Richard and I thought this was the perfect way to go to Europe on a budget.

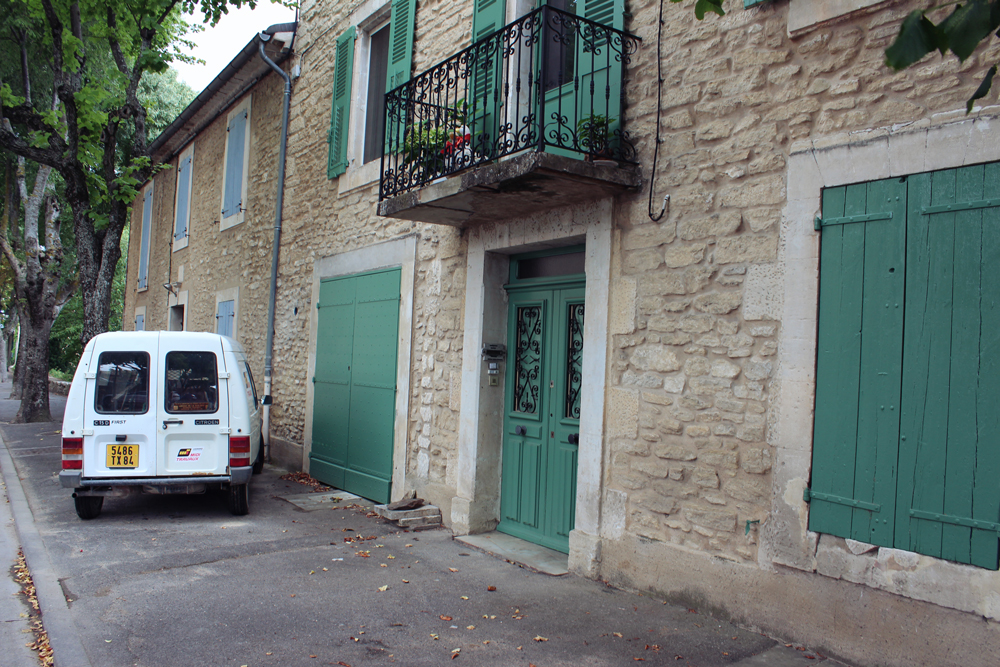
Goult is as picturesque as they come

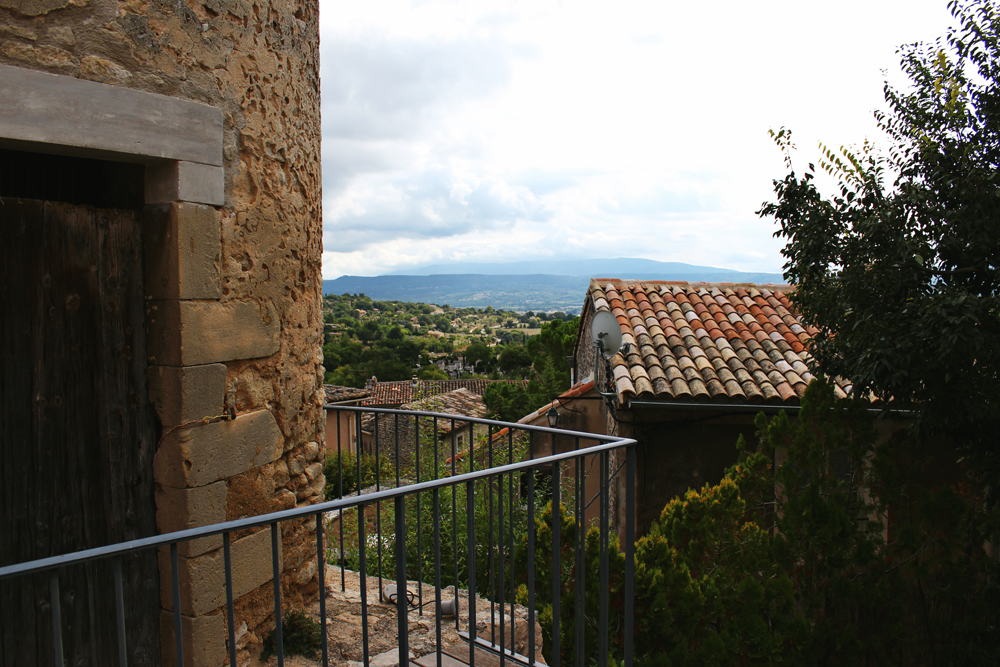
I knew that Goult would be wonderful. It’s the tiniest little town you can imagine. It sits atop a hill and overlooks the beautiful Provence region of France.

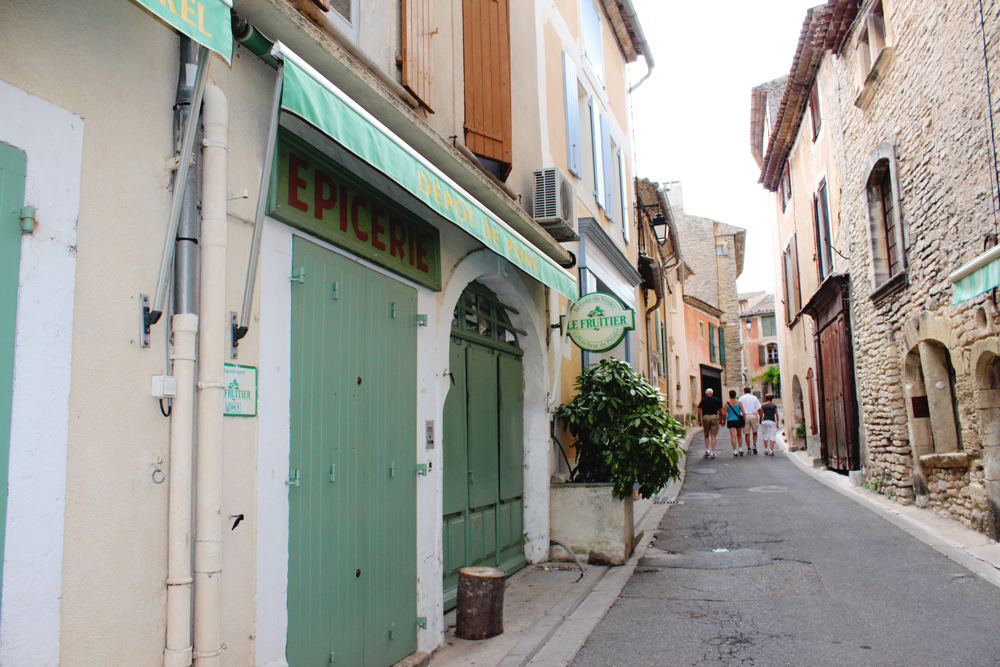
Grocery store in Goult France

We were in Goult for 6 days. During that time, we were able to walk around the small town and gaze in awe at the age and beauty of the town. It was pretty sleepy overall, but there were a few restaurants, a bakery and a little grocery store.

Alley in Goult France

One of my favorite things about southern France was all of the colors. Greens, lavenders, reds, and blues. All of them juxtaposed with the old stone buildings.

Restaurant in Goult France

While we were in Goult, we mostly ate at the Chateau de Goult, where we were staying and had access to a kitchen. There were a few small restaurants such as this one.

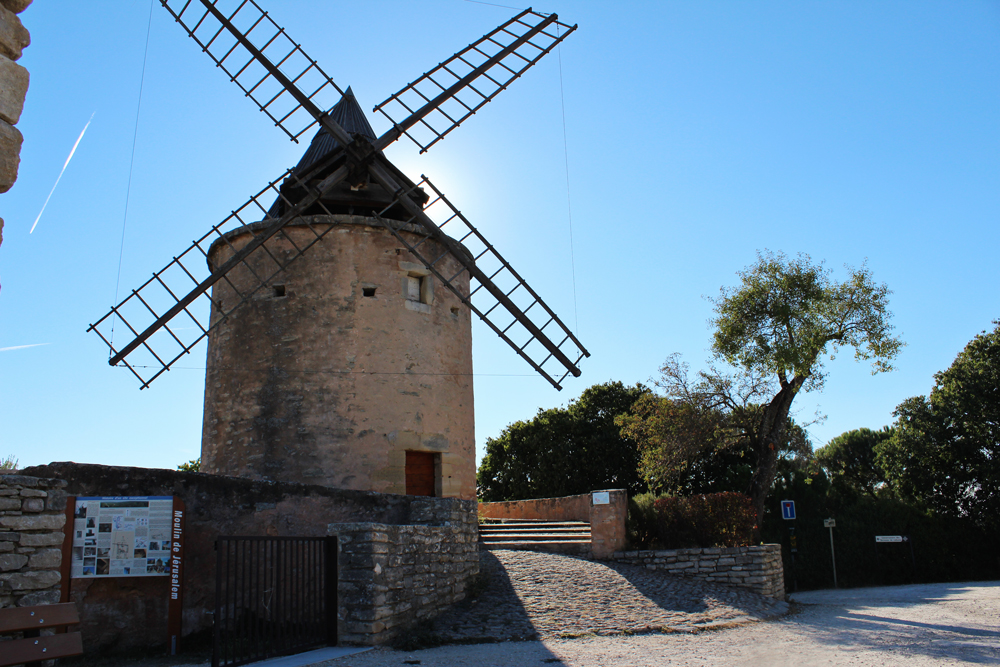
Windmill in Goult, France

Goult is home to a pretty big windmill. This was just a short 5 minute walk from where we were staying.

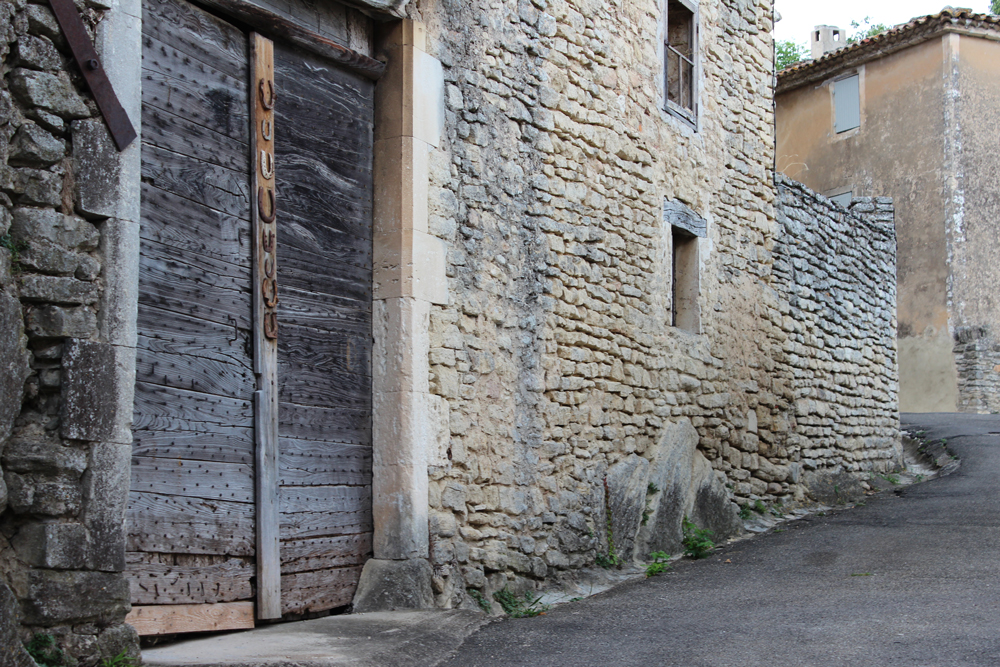
In Goult, there are alleys galore!

Alley in Goult France

For being such a small town, Goult had plenty of winding roads to explore. We spent hours walking around and getting lost in the unique details.

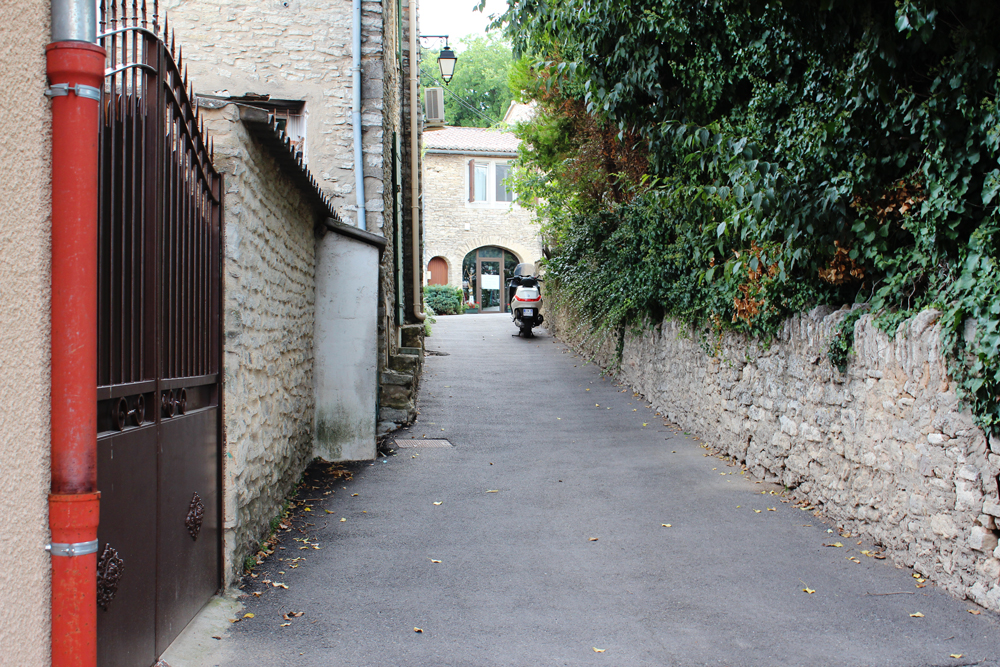
Quintessential alley with moped in Goult, France

It was so “Europe” in Goult. When I saw this moped just chilling in the alleyway, I couldn’t help but snap a pic.

Steep hill in Goult, France

As I mentioned, Goult sits on top of a hill. We rented a car to get from the train station (about 45 minutes from Goult) and this was one of the first hills we encountered. We nearly didn’t make it up, it was so steep! I’m glad Richard was the one driving while we were there.

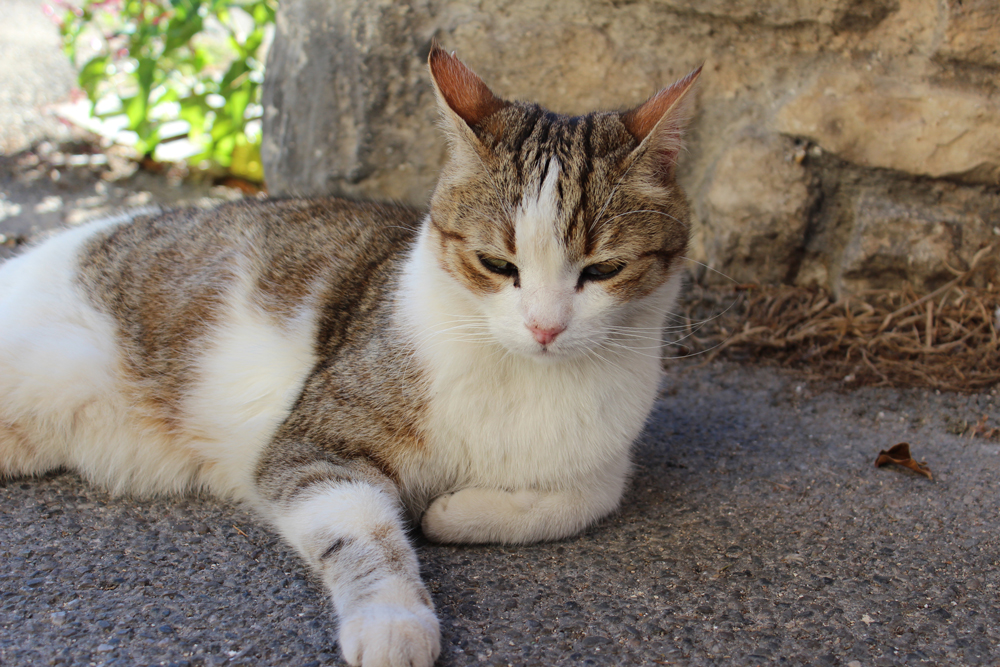
Alley cat in Goult, France

Of course, no alley is complete without an alley cat. This little guy is just one of the few random cats and dogs that roamed freely in town.

We stayed in (potentially haunted) Chateau de Goult

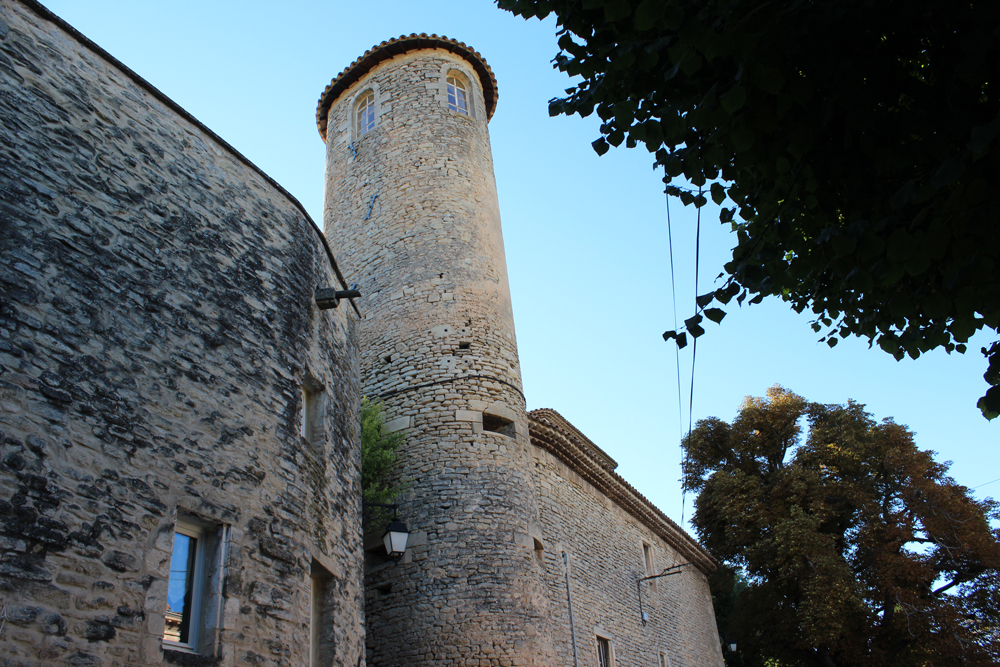
The highlight of Provence was getting to stay in the Chateau de Goult. Dating back to the 12th century, the castle is OLD.

Exterior of Goult Castle from another angle

Throughout the years, the castle has had many purposes. From fortress to residence to school and now to vacation property.

Courtyard of castle in Goult France

The main outdoor area in the castle comprises of a courtyard, complete with small pool. Unfortunately, the week we were there wasn’t too warm, so we didn’t end up taking advantage of the pool.

Statue in the entryway of the castle in Goult, France.

The Chateau de Goult is full of interesting antiques. This statue greeted us at the door when we walked into the main building.

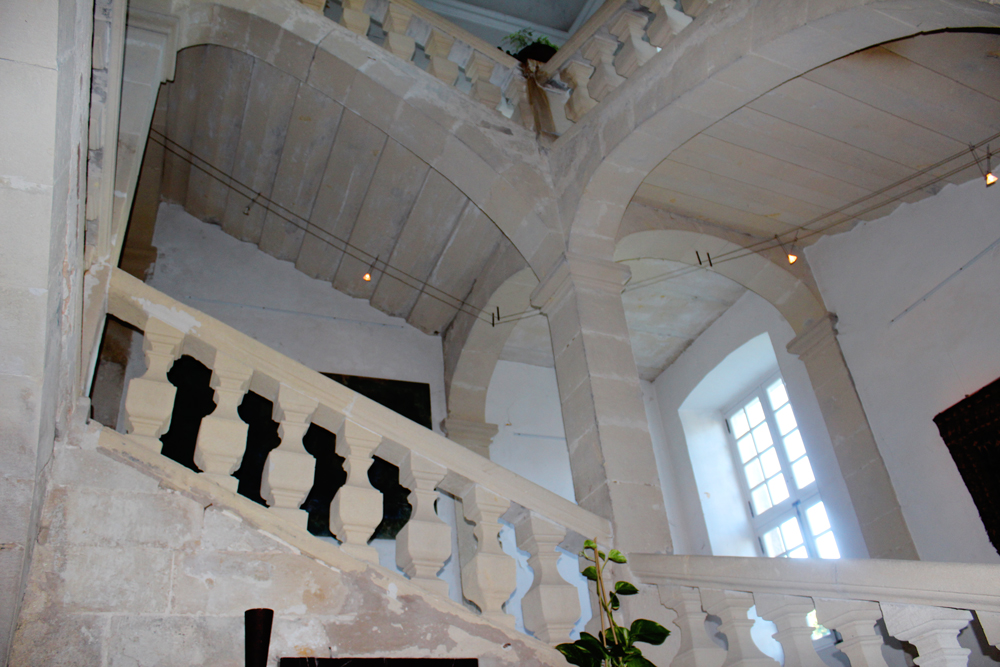
Stairwell in Goult Castle

The main staircase was built in the 17th century. It’s magnificent. And large. And beautiful.

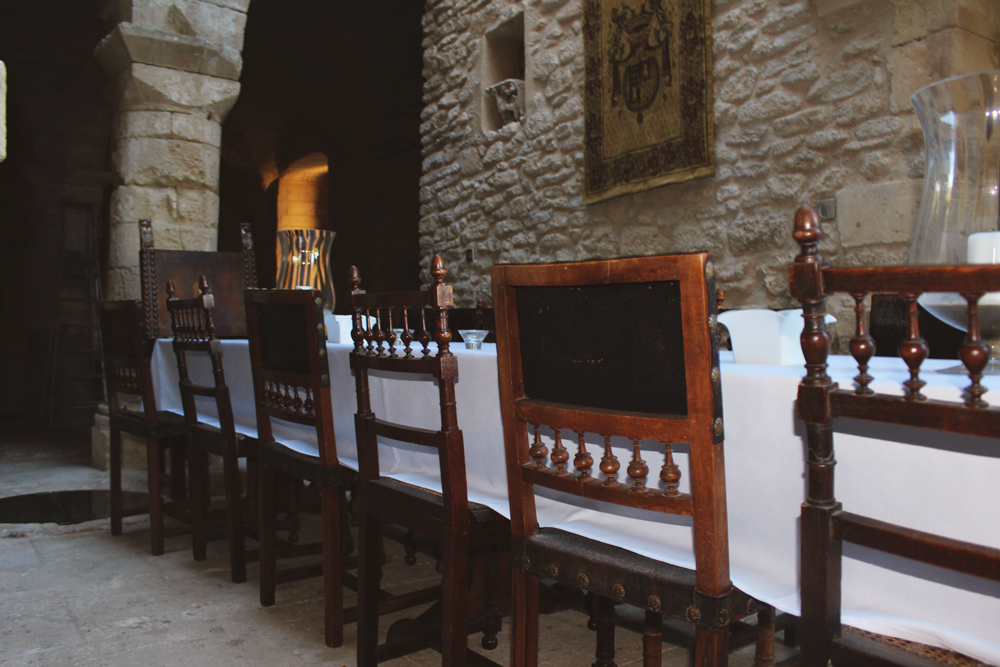
Formal dining room in Goult Castle

On the last night, we had team dinner in the Guard’s Room, which dates back to the 14th century and was part of the original fortress.

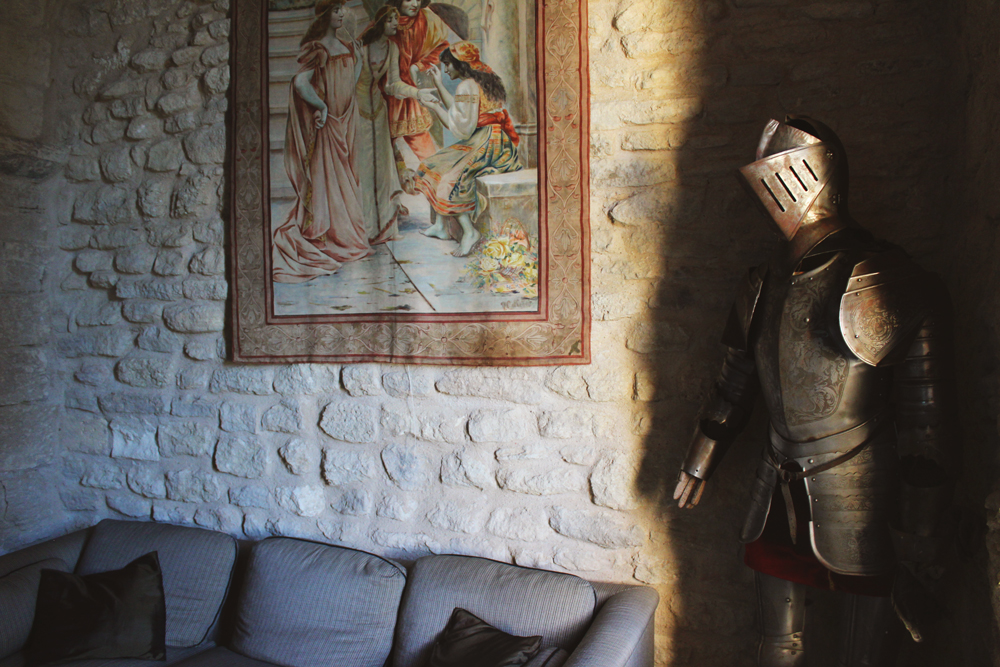
Knight's armor as decor in Goult Castle

No fortress would be complete without a suit of armor hiding out in the corner.

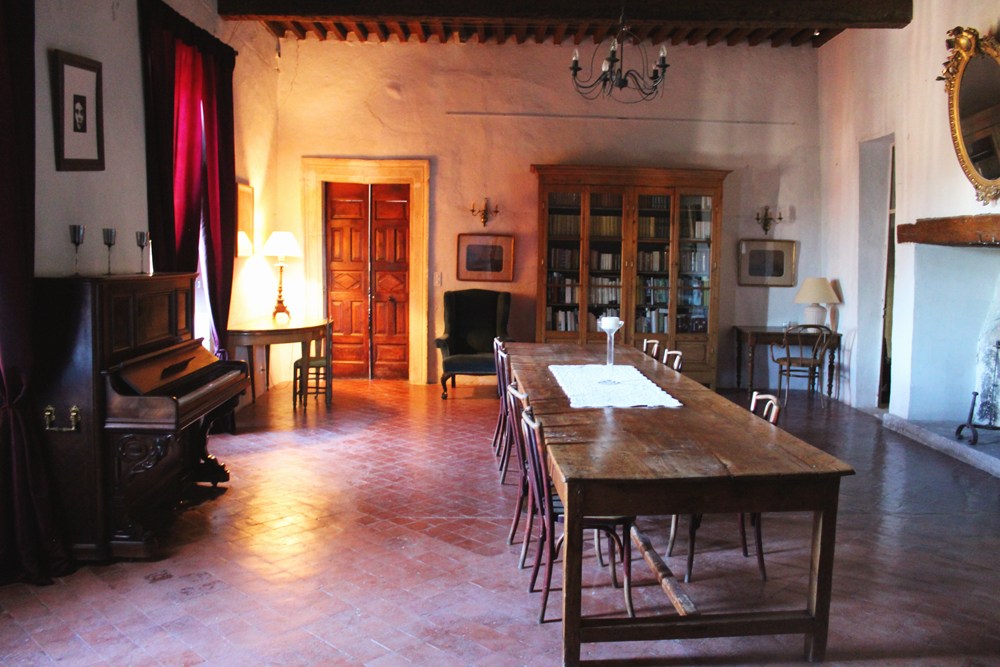
Library/study in Goult castle

While Richard and I didn’t have any weird sightings, a couple of people from our party independently reported ghost-like sightings or experiences. I guess if anything is going to be haunted, it would be a nearly 1000 year old castle!

Exterior of Goult castle in France

The Chateau de Goult was a fabulous place to relax and spend the week. If you ever have a need for a large place to host up to 14 people in southern France, this is your place!

Cemeteries in France are Weird

A surprising thing that we stumbled upon in Goult was the cemetery. It wasn’t surprising to find a cemetery, but it was surprising to see how the cemetery was designed.

Cemetary in Goult France

All of the graves were above ground in rectangular boxes. It’s probably not as uncommon as I think, but it had never occurred to me before that a cemetery might be designed this way.

Cemetery in Goult France

One of my impressions of the cemetery was that there was just a lot of STUFF. Each grave had a lot of different plaques and trinkets on top of and around it.

Cemetary in Goult, France

The most delightful part of the cemetery (if cemeteries can be delightful) was the landscaping. All of the trees were trimmed like topiaries. It made me feel like I was walking around the set of Edward Scissorhands.

The Verdict

View of Provence region from Goult Castle

Stars

5 stars of 5

I didn’t pay to stay in Chateau de Goult, so I will keep things simple and just give the town and the chateau a simple star rating of 5 of 5. We were there for around 6 days and during that time, we were able to fully explore everything that was available in the town. It was a bit far from the nearest train station (45 minutes), which meant that renting a car was necessary if we wanted to be able to explore the surrounding towns.

While I may not go back, because I like to explore new places, if you are ever in the area, Goult is definitely worth the trip.

What do you think of Goult? Would you go to check it out for a day or a longer stay?

March 2015 Monthly Budget
Budgeting, Money

Monthly Budget: March 2015

I’m back! I’m really really back! You know how I know I’m really really back? I’m doing a monthly review post. This time around, I want to switch it up and share my monthly budget. My old monthly posts used to focus on my goals and what I was up to the previous month.

I figured now that I’m back at it, I wanted to switch it up a little and give a bit more insight into how I practice (or try to practice) what I preach: finding a way to live a fun life that also helps me achieve my financial goals. So, I figured there is no better way to do that than to share my monthly budget.

Continue Reading

Moving across country with a cat
Life, Moving, Pets

Tips for Moving Across Country with a Cat

I am a proud mom to two angels: a cat named Zeke and a dog named Stella. They (along with Richard) are the lights of my life. Since we are a tight family unit, Zeke and Stella (obviously) moved with us this fall.

Richard and I really wanted to move and were excited that it was actually going to be happening. However, when all of the pieces started to come together this fall and all signs pointed to “this is it!,” there was only thing on my mind: How the heck am I going to get Zeke from point A to point B? Moving is already stressful as it is, without the whole moving across country with a cat part.

Continue Reading

Barcelona, Destinations, Europe, Spain, Travel

Park Güell: A walk in the park in Barcelona

A long long time ago, I went on a trip to Europe. September 2013 to be exact. Now that it’s 2015, it’s time to start sharing some of my experiences! Today, I talk about Park Güell, the second work of Antoni Gaudí that we visited in Barcelona.

One thing that we were not blessed with while visiting Barcelona was great weather. Our second (and final) day in town was a Sunday and it was pretty gray and overcast. It was also a bit rainy, as you can see from the number of umbrellas. Despite the weather, we decided to explore Park Güell.

Continue Reading