
For the majority of his life, Zeke (my cat) has had the luxury of ample room for running, playing, napping, and using his litter box. His litter box was always in a basement, which gave him ample room to do his business and plenty of privacy to do it.
Unfortunately, now that we are living in Arlington, space is at a premium and we no longer have a basement. In fact, in our apartment, we barely have any extra room. When we moved, I knew that finding a place for the litter box would be a challenge. We were battling a couple of issues:
- We don’t have any extra closets or out of the way places to store a litter box
- Stella (our dog) likes to … um… snack on Zeke’s unmentionables, so we can’t just have it sit out
- Zeke needs some privacy do to his business
- The idea of having a litter box just out in the open in our living area grosses me out
So, I decided to figure out what I could do to create a hidden cat litter box storage unit. Maybe I could build something. Maybe I could hack something. Maybe I can do some other creative thing. I wanted the end result to be not extremely expensive, multi-purpose, and easy to put together. And, as luck would have it, I think I accomplished all three goals!
Enter IKEA Ivar
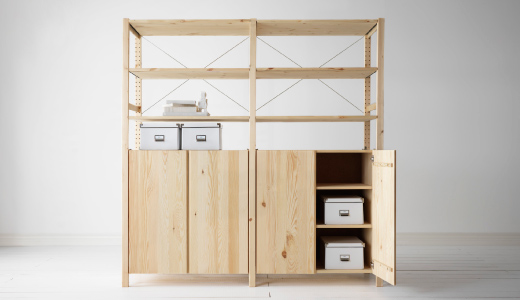
Source: IKEA
I decided to utilize IKEA’s IVAR storage system, which is a totally customizable system for creating shelving storage units. You can choose how wide you want your shelving, how tall you want your shelving, and a number of different add-ons like cabinets, shelves and even a wine rack!
In the picture above, you can see that they set up their IVAR with a cabinet on the bottom and shelves on the top and it’s two columns wide. I decided to do something a little different: one column, cabinet on the bottom, tall enough to reach nearly the ceiling in my apartment. So, let’s walk through the process in case you ever find yourself needing a hidden cat litter box!
Materials You’ll Need
If you want to replicate what I did, you’ll need the following items from IKEA:
- 1 IVAR Cabinet – 32 x 20 x 33″ – $80
- 3 IVAR Shelves – 33 x 20″ – $12 each ($36 total)
- 2 IVAR Side Units – 20 x 89″ – $20 each ($40 total)
- 1 OBSERVATÖR Cross-brace – $5
My apartment has pretty tall ceilings and I wanted to maximize my use of vertical space, so that is why I went with the 89″ side units. You can of course go with the shorter ones and less shelves, if that fits your space better. However, the key to this project is getting the 20″ deep side units, shelves and cabinet – the litter box sits in the cabinet, so it needs to be deep enough to fit that!
Other materials I used were:
- Jig saw (I used Black & Decker Variable Speed Jig Saw
)
- Utility knife
- Caulk gun
- Clear caulk
- Light panels (like what you see covering flourescent light fixtures)
- Cat Door (optional)
- High-sided litter box (optional – I purchased this High Shield Litter Pan
)
Putting It Together
Once you’ve gathered all of your materials, you’re ready to start making your hidden cat litter box storage. It was pretty simple to put everything together, but I ended up assembling everything over the course of a few weeks. That was mostly due to me being lazy, so it’s likely you can put everything together in a much quicker fashion.
1. Assemble the IVAR cabinet base

The first step you need to take is putting together the cabinet. This is fairly easy to do. Just follow IKEA’s directions.
2. Map out a cat door

Once you have the cabinet put together, determine which side of the cabinet your cat will use as their entrance/exit. Be sure you don’t accidentally put the door on the botton of the cabinet floor or at the top of the side (rather than the bottom). Triple check this.
3. Drill holes to start cutting out the cat door

Cutting out the cat door hole is a two step process. First, you need to drill a hole in each of the four corners that you drew out. Make sure you use a bit that is big enough for you to put the blade of your jig saw through. You’ll use these drill holes to guide where you saw and to get the hole started.
4. Test out the waters with a dry run

Zeke had never had his litter box in an enclosed space before, so I wanted to ease him into the experience. The last thing I needed was him doing his thing in places that he shouldn’t. To help ease him in, I left out the cabinet without doors and not in the rest of the unit for a while.
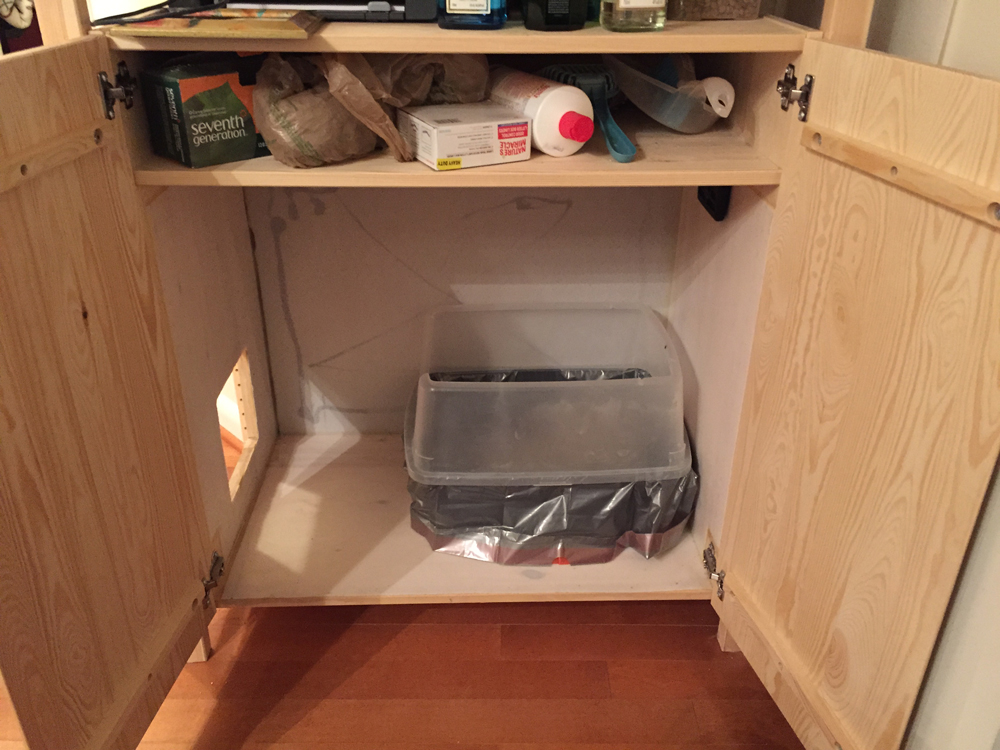
5. Line the cabinet with light panels
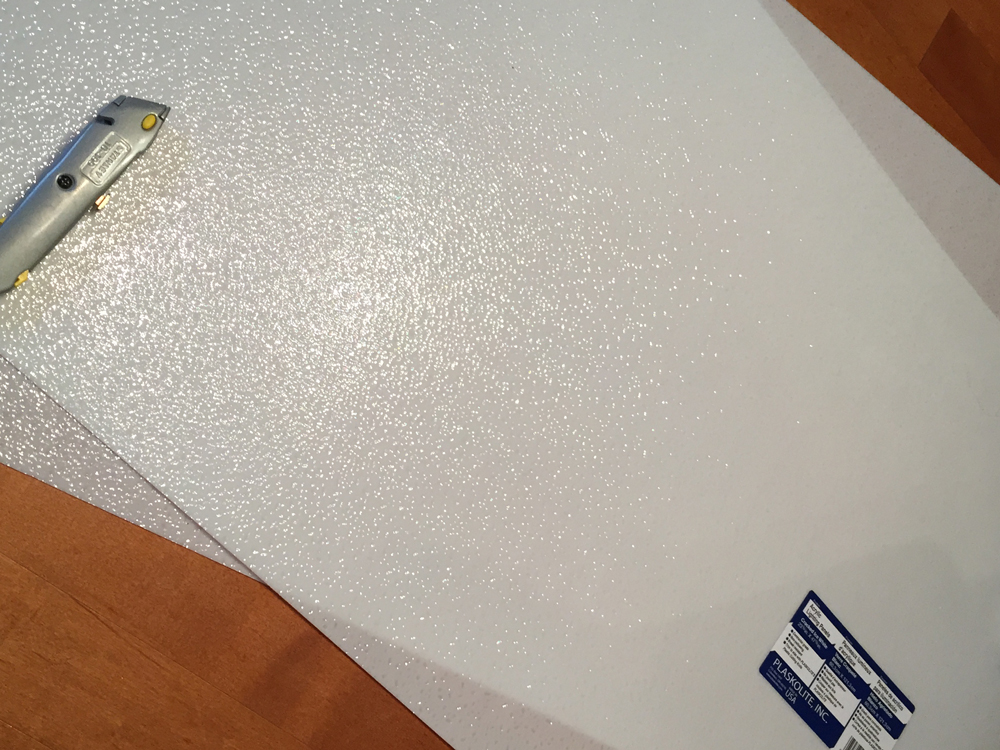
One sucky thing about wood for this project is that is sucks stuff up. To help reduce damage for the inevitable accidents, I decided to line the interior of the cabinet with plastic light panels. All I did was cut the panels to size and line the interior of the cabinet (walls, floor, doors) and then caulk around all of the edges to seal everything up. You could probably use a number of different materials to line the cabinet, but this was the best solution I could find.
Use a utility knife to cut the light panels, but be super careful. The panels are very brittle, so it’s easy for them to snap in a direction that you don’t want them to snap.
6. Assemble the rest of the cabinet
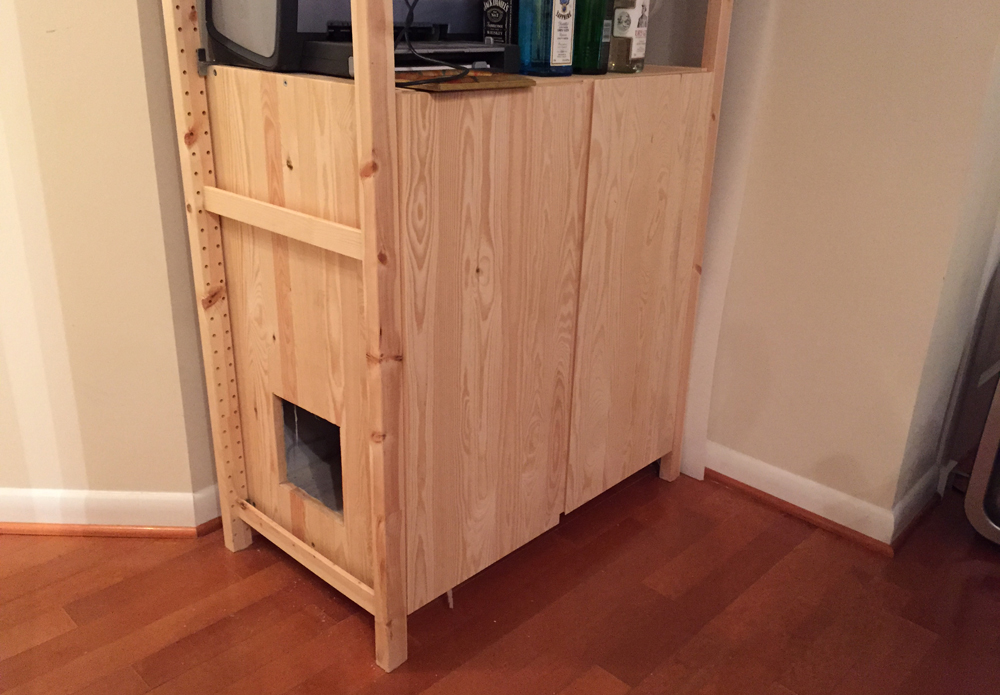
Eventually, you need to actually assemble the storage unit. The cabinet is pretty chunky, so it took a bit of effort to get everything juuuuust so.
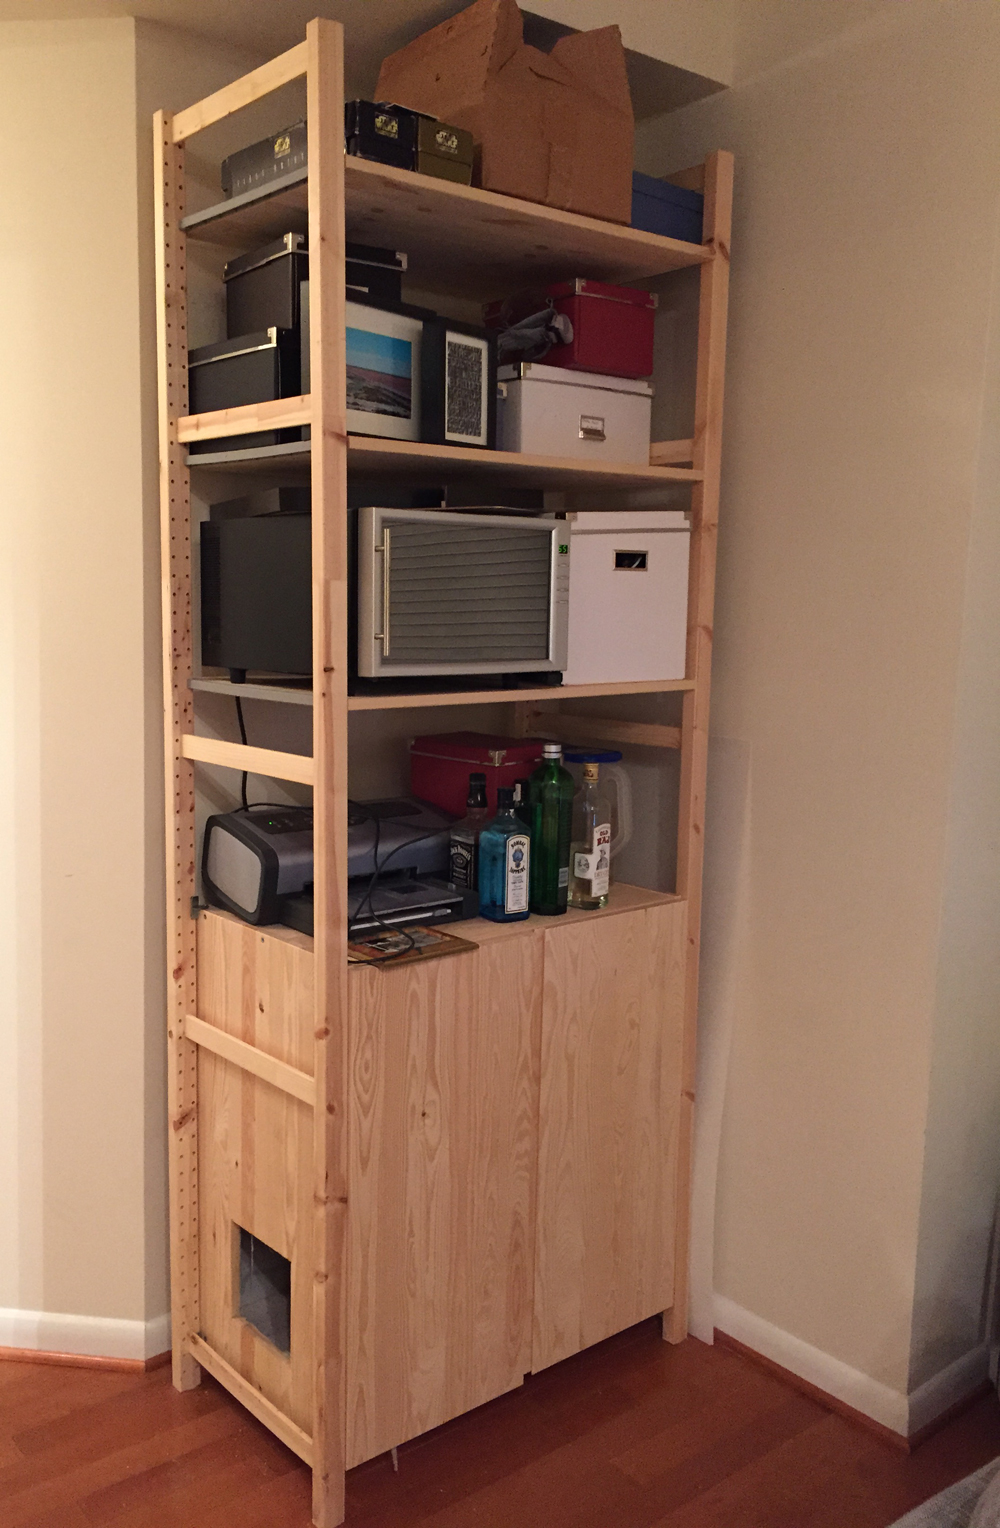
Eventually, we were even able to put stuff on the shelves above. Multi purpose? Check!
7. Test out the waters again
 Once I had the cabinet assembled, I placed the litter box inside of the storage unit. I left the doors to the cabinet open for a week or two so that Zeke could enter through the cat door or through the front of the open cabinets. During this time, it became clear that Zeke was having some trouble aiming into his litter box. It seems that the enclosed space made him feel like he didn’t need to be as careful. To help combat more accidents, I decided to get a high-sided litter box. Luckily, this did the trick and we haven’t had any issues since!
Also, I used one of the two shelves that comes with the cabinet. This created a perfect space to keep all of the other cat litter stuff – cleaner, bags, scoop, and hand broom.
8. Add in the cat door, if you want
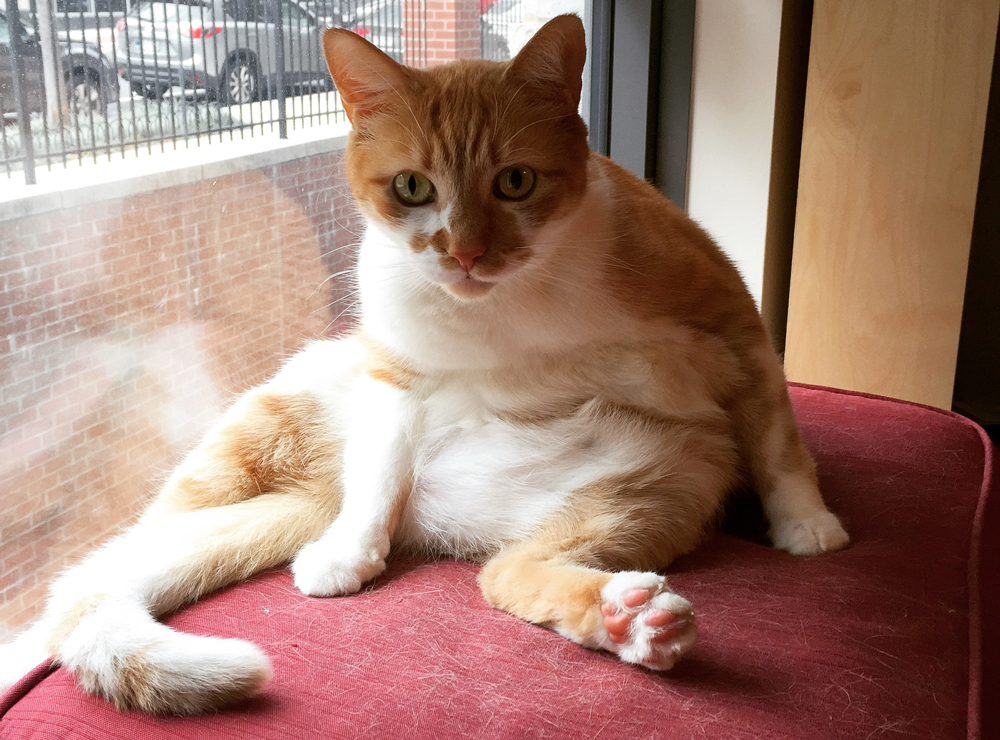
I thought I would end up using the cat door, but I never really got around to installing it. Also, I discovered that since the cat door was designed to be installed in something as thick as a door, there is a large gap between the plastic and the cabinet. If you’re interested in installing the door, it would be pretty easy to get some scrap trim and line the door to fill the gap between the cabinet and the plastic on the cat door. As you can see from above, Zeke is kind of a chunky dude, so I think for now it’s okay that we don’t have that extra bit making the entrance/exit smaller.
The Skinny on Making a Hidden Cat Litter Box
So now that you know how to make your own hidden cat litter box, let’s go over some details about the project itself.
Cost
Tools & Materials Costs:
- IVAR Storage Unit: $160
- Light Panels: $30
- Caulk: $9
- Cat Door: $20
- High-sided Cat Litter Box: $11
- Jig Saw: $30
Total Tools & Material Costs: $260
Overall, I spent $260 on making this custom hidden cat litter box. The majority of the cost came from the storage unit itself. I could have reduced cost in the following ways:
- Buying less light panels (I purchased one more than I ended up needing)
- Not buying the cat door (I had already purchased it a long time ago and thought I would use it, but didn’t)
- Not upgrading litter boxes (Maybe you have a cat that is capable of aiming)
- Borrowing a jig saw from someone (Unfortunately, I don’t know anyone else in the area who has a jig saw)
When I look at it all added up together, I’m tempted to feel sticker shock – kind of like how I did when I built my workbench in Rochester. However, the hidden cat litter box storage unit has become a pivotal part of our apartment. It does the crucial task of hiding the litter box, it keeps the litter box away from our dog, it helps minimize smell, and it acts as a storage unit for a bunch of other stuff. This is also something we’ll be able to take with us to future apartments, because it’s unlikely that we’ll end up in a place with a basement (or extra space) for a long time.
Time

I took a long time to put this together because I had a lot going on and I kept having to go back to the store for supplies. However, over the course of a few weeks, I only really put in a few hours of work onto this project. If you’re motivated, you could easily have this entire project done in an afternoon or about 3 to 5 hours.
Skill

This is a really simple project. You need to know how to use a drill and you need to know how to use a jig saw. Since there is some dexterity needed with the jig saw and some power tools involved, I give this project a 2 of 4 in terms of skill needed.
Have you ever made a hidden cat litter storage unit? Would you?
Disclaimer: This post contains affiliate links. If you click on them, I receive a small commission for referring you. As always, all of my opinions are my own!
