Looking for a way to hang on to summer as fall moves in full force? Make some homemade peach ice cream!
I made this ice cream a while ago, but as you all know, my life has seriously gotten in the way. Making homemade ice cream was one of the things on my 26 Things While 26 list. I thought it would be a fun, yummy and potentially cost-saving endeavor. Ice cream in the grocery store? Expensive! This ice cream? Not necessarily cheap, but it’s organic, free of preservatives and the like, plus I made it myself!
Making homemade ice cream is deceptively easy. The hardest thing you’ll need to do is scald the milk, but other than that… it’s pretty easy to do!
What You’ll Need
- Milk, 4 cups
- Half and half, 2 cups
- Heavy Cream, 4 cups
- Peaches, about 1 lb (to make 4 cups puree)
- Sugar, 1.5 cups
- Vanilla, 1 Tbsp
- Rock salt
- Ice, about 10-15 lbs.
- Ice cream maker
10 Easy Steps to Making Homemade Peach Ice Cream
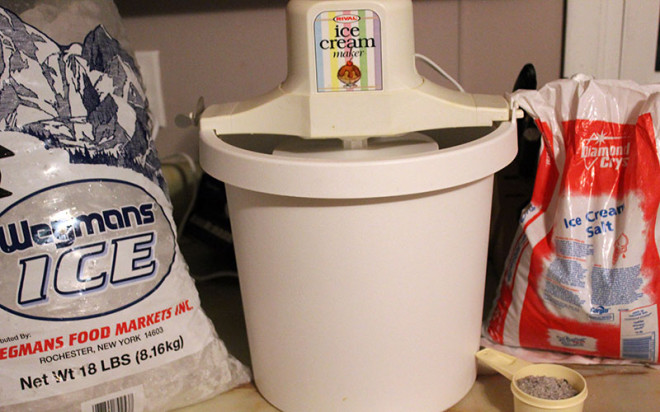
1. Gather all of your ingredients
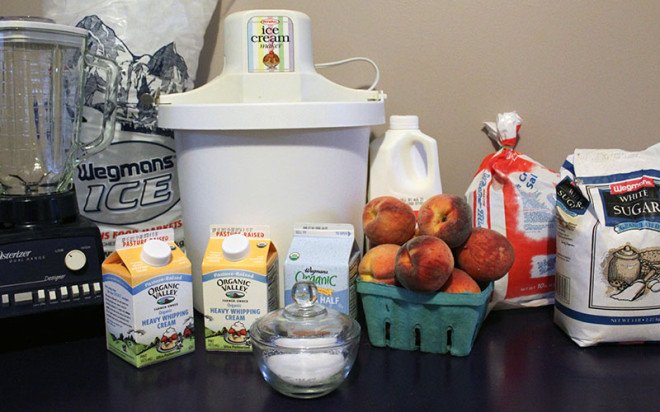
I find it’s easiest to get all of the ingredients out and ready before starting a cooking or baking or ice cream making activity. This saves me stress and time that I would inevitably spend rummaging through the cupboards while I needed that cup of sugar five seconds ago!
2. Start cutting up peaches

The secret to homemade peach ice cream is, you guessed it, peaches! For this batch, I used a combination of peaches from our weekly CSA and a couple extra that we bought from the grocery store. All in all, I was aiming for about 4 cups of diced peaches. The next step is to blend the peaches, so make sure they’re small enough that your blender will be able to attack them.
3. Blend those peaches and put aside
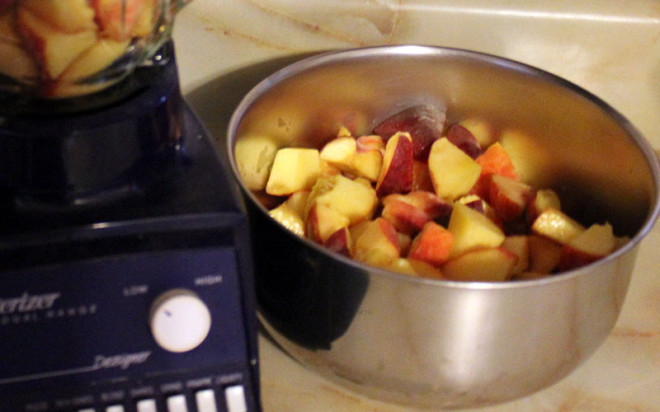
Puree the diced peaches in the blender and put to the side. Don’t put them all in the blender at once though! Put a cup or so in and blend. Then put in more and blend. And so on. When you’re done, put the peaches to the side.
4. Prepare the wet ingredients
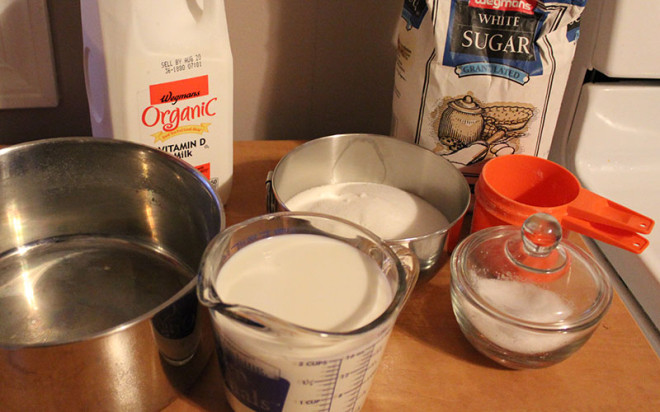
The next step is to combine the wet ingredients. Before I started to do that, I measured everything and put it next to the stove. Once you scald the milk, it will be easy to combine the other ingredients quickly.
5. Scald the milk

Scalding is tricky business and it’s potentially not what you think it is. Scalding, for those of you who don’t know, is when milk is warmed up to about 82 degrees C and bacteria is killed, enzyme in the milk is killed and proteins are natured. According to Wikipedia, since milk is generally pasteurized, when you scald milk in cooking it usually is done to increase the temperature or to change the consistency of the milk. There are scalding tools out there that you can use, but I found the wikiHow article How to Scald Milk to be helpful, since I didn’t have a milk scalding tool at my disposal. Once you’ve successfully scalded (NOT burned or boiled!) you milk, go ahead and combine the other ingredients.
6. Combine peaches and milk ingredients into basin
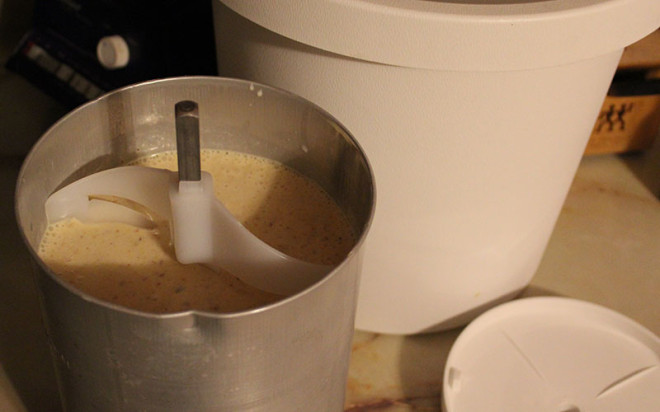
This part is easy. Simply combine the peaches with the milk mixtures and put into the canister that belongs to your ice cream maker.
7. Ice, rock salt, ice, rock salt and so on
Here is where the magic truly happens. When you put the canister into the ice cream maker, there is space between the big basic and the canister. In this space, you will alternate layers of ice and rock salt. I just used the ice cubes as is, but it’s recommended that you actually use crushed ice. This will improve the texture and consistency of the ice cream.
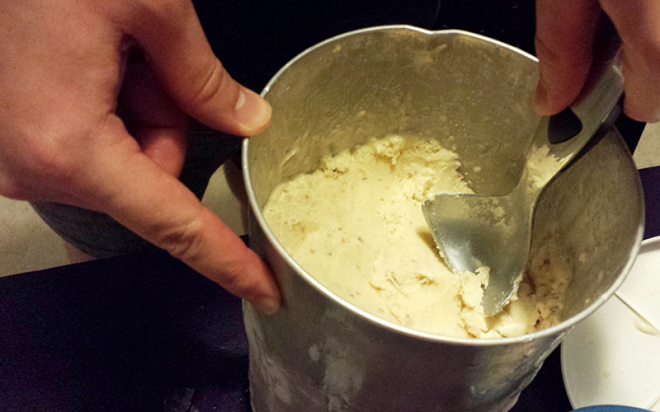
8. Pull paddle out of mixture
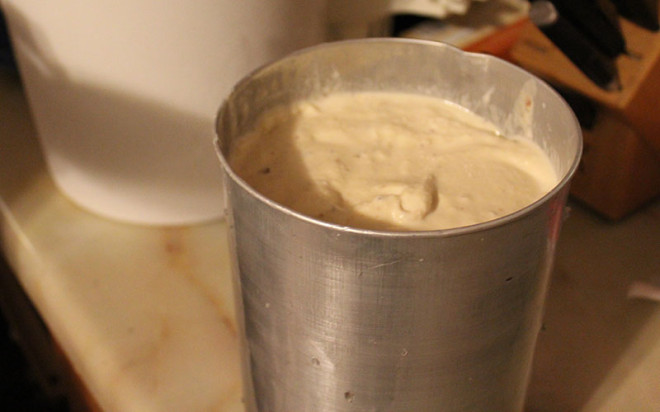
Eventually, your ice cream maker will stop (mine said it would be about 20 – 40 minutes). When it stops, remove the paddle from the inside of the canister. Sneaking a taste of the creamy goodness is optional!
9. Put into freezer
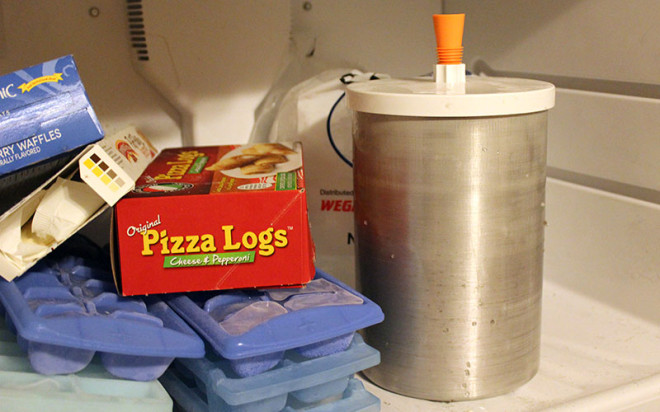
Time to freeze! You can either freeze the ice cream in the canister (with the lid, of course) or you can divide into smaller freezer containers. We opted for the canister, but as you can see it’s not the most space-efficient option.
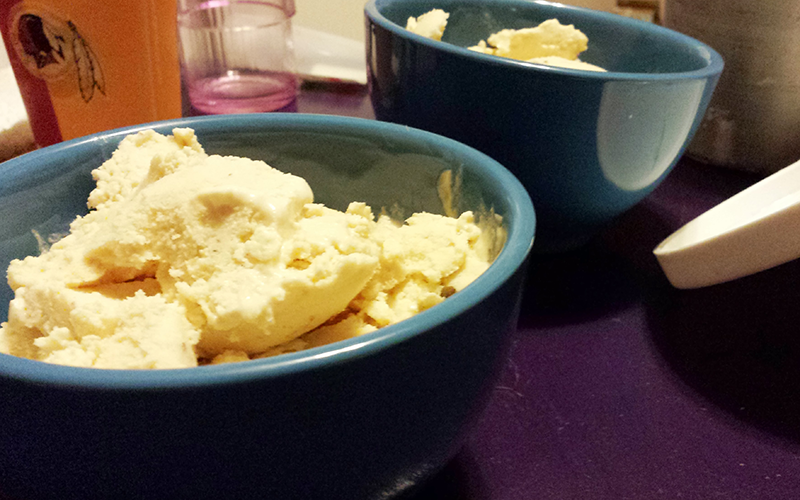
10. Time to enjoy!
After you’ve frozen the ice cream for a few hours, it’s ready to eat! Be warned, homemade ice cream is much much much more dense than store-bought ice cream. Our batch really threw us for a loop in terms of difficulty of scooping. You may need to let the ice cream thaw a bit before attempting to scoop.
Looking for this recipe? I used the one for Vanilla Ice Cream that came in Rival’s instruction manual. There are so many different ice creams that you can make though, so do a little research and the sky is the limit when it comes to homemade ice cream flavors!
The Verdict
As you know, I love to rate the places and activities that I do. So why not this!
Stars

Overall, the process of making the ice cream was fairly easy. The bonus of making your own ice cream is that you know what is going into it – no preservatives and high quality ingredients. For these two reasons, I give making homemade ice cream 4 of 5 stars.
Time

From start to finish, this probably took me around 2 hours. Depending on how fast or slow you work, you can likely make your ice cream in 2 to 3 hours. I was doing it myself, so if I was doing it with someone else, it would have likely taken less time. Note: This time amount doesn’t account for how long the ice cream will need to freeze.
Cost

I made 4 quarts of ice cream. As I mentioned briefly above, I used a lot of organic ingredients: the milk, heavy cream, half and half were all organic. The peaches were not organic, but they were local! Overall, the ingredients cost me around $18.24. I acquired the ice cream maker and salt from my mom for free, so that was not a cost. If I were to buy organic ice cream at my local grocery story, my options would be 1 pint for $2.99 (about $23.92 for 4 quarts) or 1.5 quarts for $6.49 (about $17.30). If you were to need to buy your ice cream maker, that would offset some of the potential savings. However, as I mentioned above, making ice cream is fun! You know what’s in your food! And it’s one way to hang onto summer! So for those reasons, the cost of investing in the maker might be worth it.
Have you ever made homemade ice cream? What flavor did you make? Have any ice cream-making tips to share?